
12 July 2025
Turtle Power!

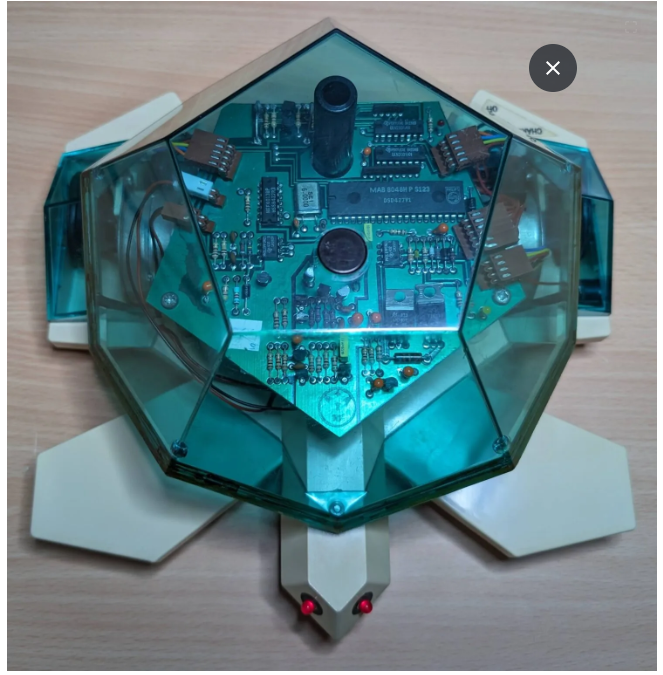
…apologies if the pop culture reference from 1984 is lost on some but I think or find it interesting that the anthropomorphic ninjutsu trained quartet coincided according to the Young V&A Museum (source: https://collections.vam.ac.uk/item/O1565811/the-valiant-turtle-robot-caitlin-dave, last visited 12 July 2025) with the Valiant Turtle for the BBC Micro. It so could have been a (ahem) turtle-tie-in marketing opportunity but as far as I can recall never was unless like the use of the Valiant Turtle in schools for teaching programming, the experience passed me by.
Time travel forward forty plus years to June 2025, Gareth Davies, Director of 4Tronix and creator of the BitBot Pro replied to my e-mail of the teaching materials I created for the Teach Computing sequence of learning about repetition and loops. Our brief but wonderful e-mail exchange reminded me that my first experience of low cost robots that could draw was the mirobot which a former colleague persuaded the school to purchase in 2016. The product description hosted on the designboom.com website made the flat packed laser cut plywood mirobot sound so easy to use. The reality was that the wi-fi connection operation and browser based ardunio application were very unreliable. It was the same year that I made wonderful connections through taking part in the Raspberry Pi Picademy, became a member of this fabulous community as well as co-hosting Code Club meetings as after school sessions at the school where I became subject lead for Computing in 2020. These experiences has led me to come up with these six tips when teaching how to use programmable devices that can draw:
1. Start small: I’ve long held ambitions to use devices like the Birdbrain Technologies Finch to replicate the ten petal pattern featured on YouTube (search “Finch flower” video, April 2021). However, the range of motion for all of these types of devices means that there are limits to the length, distance, arc length and or diameter. No matter how well made any programmable device on which a pen can be mounted, to draw larger patterns not only requires larger pieces of paper but increases the risk of the robots veering off course simply due to slightly wrinkled sheets, friction between the robot and surface it is drawing on or the pen being used. Talking of which…
2. Barrel size of pens: at the risk of sounding like a marketing mule, a very popular top price fine point permanent marker pen is my favourite to use for the devices I have regular access to or use of. As I posted on X on 3 July 2025, the brand of broad felt tip marker pens used where I work are pretty good too (search for #BitBotPRO). However, as I indicated earlier, none of these devices, no matter how well made have a precise grip of the pen and there will inevitably be a degree or level of shape and pattern accuracy loss.
3. Start from the centre: no matter what the paper size, always position the robot so that the pen will begin drawing from the middle of the paper. It is possible for devices that can be programmed to draw patterns to begin their patterns closer to the perimeter of any sheet being used. However, no matter how smooth and level the surface that the material the robot is working on, there will always be a risk that the underside of the robot’s mechanism will catch and snag on the edge of the paper or card it is drawing on.
4. Paper quality: dependent on the weight of the paper or card that the patterns are being drawn on, pens which use any type of alcohol based ink for permanence and colour boldness will be susceptible to the ink spreading out into dots or blobs and seep through the underside of the paper. Using 165 gsm cartridge paper minimizes the effect of colours bleeding through to pages underneath. Alternatively, create a blotting surface by laying a small stack of sheets beneath the sheet or surface that is being drawn on.
5. Practice and plan: the environmentally or sustainable way of testing or experimenting with different designs is to use the pen function in Scratch to encourage learners to draft out their designs on a screen before the physical computing element. The angles of turn and nested loop structure in Scratch will be the same for drawing buggies which use MakeCode blocks running on micro:bits.
6. Set parameters: as I posted on X, when teaching enthusiastic children how to change simple shapes into prepossessing patterns, they may need to be reminded that whilst they can customise their designs with any values they want to experiment or explore with, it is important to impose an upper limit for the number of repeats any programmable device is expected to perform. As I recently discovered, a repeat of 54,321 may take in excess of three hours to run…
The out of the box teach ready step by step guide for the 4Tronix micro:bit BitBotPRO and sequence of twelve lessons adapted from the National Centre for Computing Education Teach Computing sequence of learning for teaching Year 4 repetition and loops is available from the Resources section.
Spotted an Issue?
InstaLogic Maths and Computing Challenge

Physical Computing using micro:bits
To LI or not to LI… that be the question…
Staying Safe Online: Teaching Digital Citizenship
Code Club
Turtle Power!
I built more vital tools using AI.

My Top 10 Easy-to-navigate Tech Tools to Enhance your Primary English Curriculum

My Top 10 Easy-to-navigate Tech Tools to Enhance your Primary English Curriculum By Danielle Siriboe
Discussion
Please login to post a comment